
Why Does Incomplete Purging Cause Black Spots?
工艺参数16 min read
On this page
Color change is the most common operation in hot runner systems and the stage most prone to defects. Residual material that is not thoroughly cleaned will contaminate subsequent production runs.
Black spots, color variations, and flow marks are typically caused by residue from previous batches, not issues with the current batch.
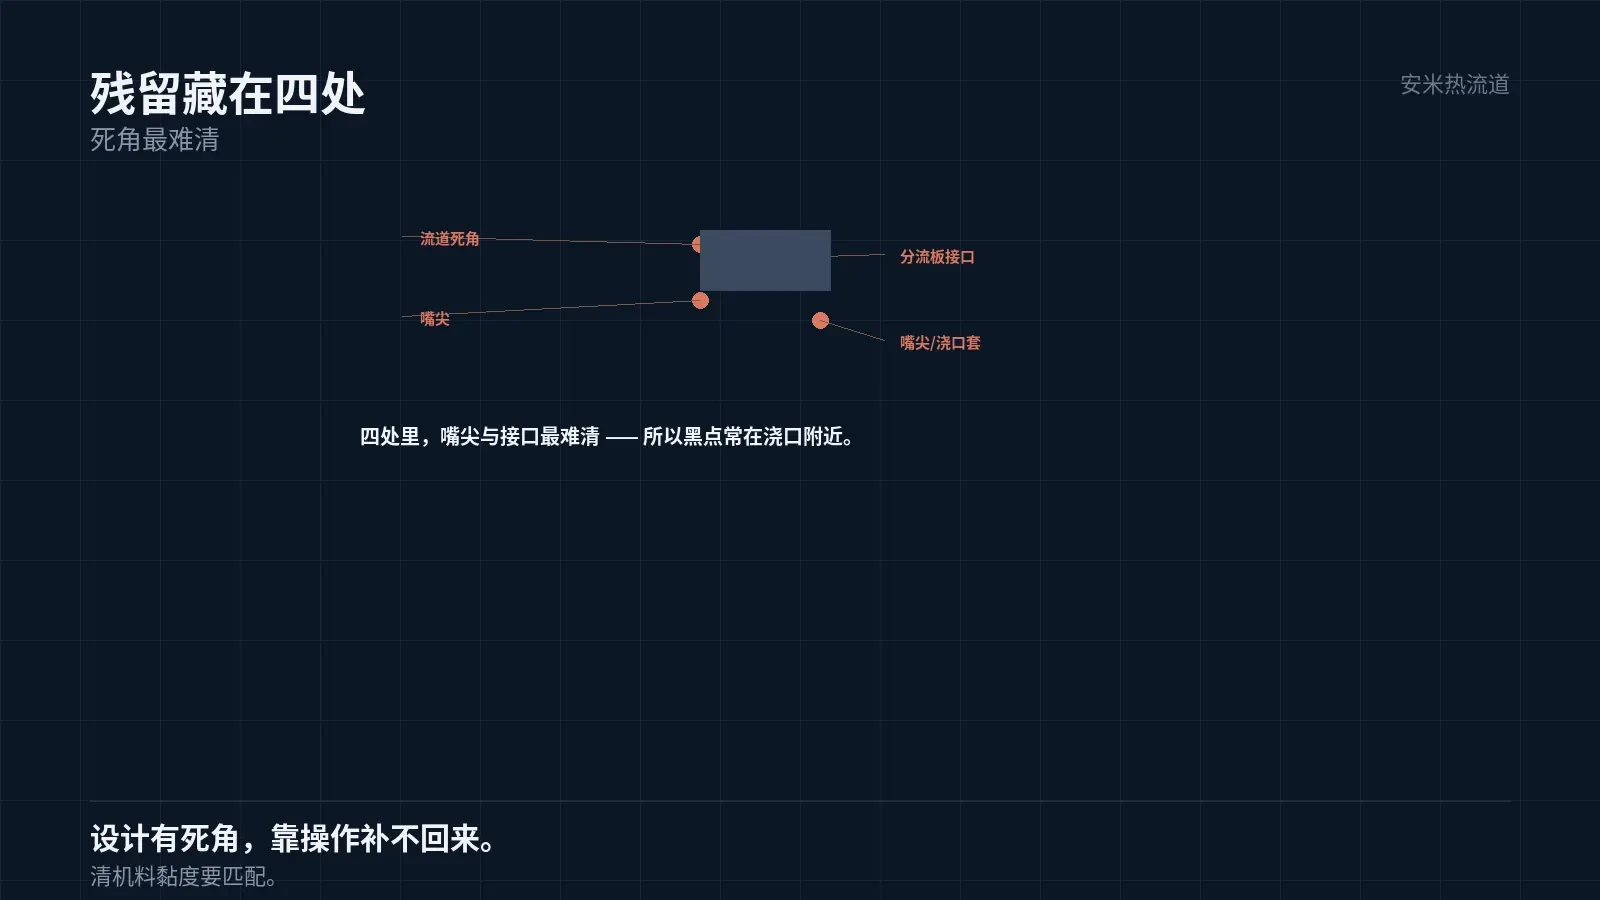
Where Residue Lurks
Residue first accumulates in dead zones within the runners. Sudden expansions, corners, and threads reduce flow velocity, causing material stagnation.
The second location is the nozzle tip. The narrow channel at the nozzle tip makes it difficult to fully displace old material with new material during changeover.
The third location is the manifold interface. Small gaps at this interface allow residue to accumulate in the seams.
The fourth location is the contact surface between the heated nozzle and the gate insert. Although this area lies outside the runner system, leaked material accumulates here.
Among these four locations, the nozzle tip and interface are the most difficult to clean. This is why color change issues often appear as black spots near the gate.
Why Purging Doesn't Work
Root cause: Temperature. Low purge temperature increases residual material viscosity, hindering effective displacement.
Second cause: flow channel design. Dead zones or sudden expansions prevent complete cleaning, regardless of temperature.
Third cause: purge compound selection. If the purge compound's viscosity differs significantly from the old material, it cannot displace it; if too similar, it fails to remove it.
Fourth cause: duration. Sufficient shot volume is needed to purge properly; stopping after only a few shots leaves residue behind.
Among these four factors, flow channel design is fundamental. Operational adjustments cannot compensate for dead zones in the design.
Purge Sequence
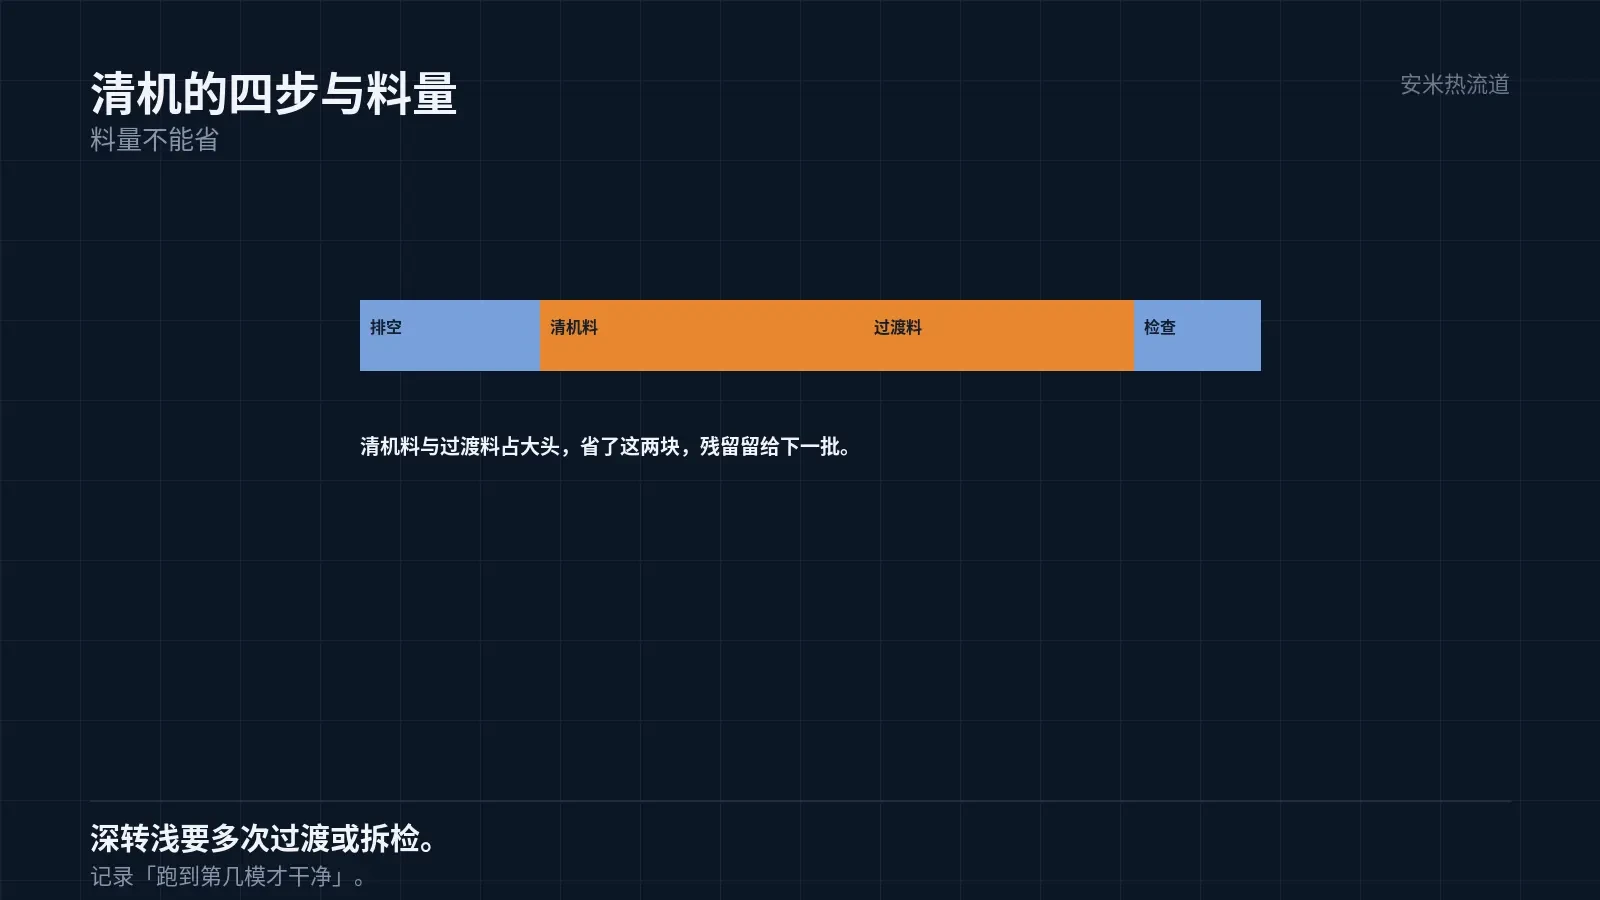
Step 1: "Evacuation." Discharge as much old material as possible until the strand lightens.
Step 2: "Purge Compound." Use a dedicated purge compound at the dosage and temperature recommended by the supplier.
Step 3: Transition Material. Run new material to displace the purge compound until the strand color stabilizes.
Step 4 is "Inspection." Check parts for black spots, color variation, and flow marks. If found, continue purging.
In these four steps, purge amounts in Steps 2 and 3 are most often reduced. Reducing purge material leaves residue for the next batch.
Purge volume is estimated as a multiple of the total runner volume. The multiplier varies by material and color changeover span; larger spans require higher multipliers.
Judging by "lighter color" alone is often insufficient. Lighter color indicates only surface cleanliness; residue remains in dead zones.
Therefore, add this criterion: no black spots on consecutive shots. Relying solely on purge strand color can lead to misjudgment.
Black spot inspection must account for size. Large spots are carbonized chunks; small ones are dispersed pigment dots. The causes differ.
Large black spots typically result from detached accumulated material in dead zones; small black spots usually stem from dispersed pigments or degradation products. Remediation methods differ.
Use a magnifier to grade during inspection; do not simply record "black spots present." Grading provides the basis for judgment.
Grading standards can have three tiers: visible to the naked eye, visible with a magnifier, or visible under a microscope. Simple yet practical.
Log cleaning records with the shot number when cleaned. This reference helps save more material than relying on feel for future runs.
The value varies by color combination. Dark-to-light requires the most, light-to-dark the least, and same-color-family transitions are similar. A few reference values suffice.
For high-temperature materials, also record the temperature. Purge time varies significantly with temperature, even for the same color.
Another variable is the "barrel." Residue in the barrel can carry over to new material; purge the barrel during cleaning.
Special handling for dark-to-light color transitions
Switching from dark to light is more challenging than the reverse. Pigments from dark colors can linger in the micro-pores of the flow channel walls and release slowly.
The solution is a "multi-stage transition": remove compound → intermediate color → target color. The intermediate color is typically white or natural.
Another method is "disassembly inspection." For high-requirement applications, remove and clean the nozzle tip during color changes; this approach is costly but thorough.
Disassembly adds time and wear costs. Each disassembly increases mating surface wear; avoid performing it every time.
Whether to disassemble depends on the part's appearance requirements. High-gloss and transparent parts typically require disassembly.
High-Temperature Resin Material Changeover
LCP and PA46 have narrow processing windows. Low temperatures restrict flow, while high temperatures cause degradation, making degraded material more difficult to clean.
PPS is more forgiving: viscosity remains stable during prolonged residence, offering greater tolerance for machine cleaning.
PEEK is the most challenging. With a melting point of 343°C and processing temperatures above 390°C, temperature must not drop too much, nor can the process pause for too long during changeover.
Therefore, dedicated machines are typically recommended for PEEK. High changeover costs make a dedicated machine the preferred choice.
Clarify this during the quoting stage. Customers often assume easy changeover, only discovering limitations during use.
Verification and Documentation
Verification requires first-article inspection: immediately after a color change, check each shot for black spots, color deviation, and flow marks.
Tools include magnifiers and colorimeters. Black spots are detected visually using magnification; color deviation requires instrumentation. Both methods are necessary.
Records include color change conditions, material usage, temperature, and shot count. These records serve as references for future changes to the same color.
Without records, every trial starts from scratch, wasting time and materials.
Please specify the material, color, part appearance requirements, and current purging method. We will review these against runner design and purging procedures before providing a quote.
MATCHED BY MATERIAL AND DEFECT
This article covers stringing, drooling, clogging, and high-heat resins; refer to SD for gate freeze and break-off.
Register for a selection review and quote
Submit part, mold, and material details. Our engineers will evaluate the gate solution per part and provide a quote.
Upload a 2D layout drawing using the form.
Online selection and quote
Scan to register